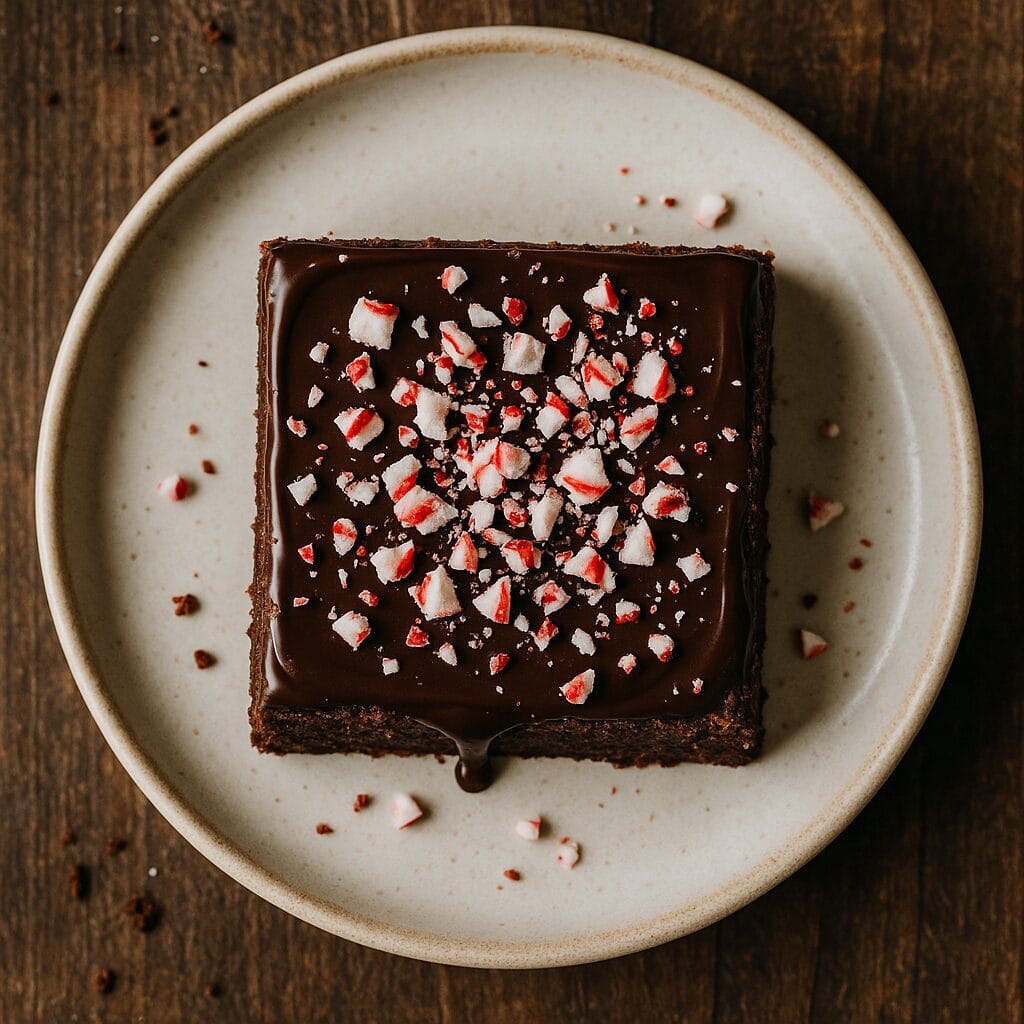
Peppermint Chocolate Fudge Brownies with Ganache
Baked in one pan with straightforward, stackable steps, these triple-layer bars are ideal for anyone who wants maximum visual impact with minimal fuss. They also freeze beautifully, making them a smart do-ahead option for gifting or last-minute dessert emergencies.
Prep Time
25 minutes
25 minutes
Cook Time
35 minutes
35 minutes
Total Time
120 minutes
120 minutes
Ingredients
unsalted butter 8 tbsp (1 stick, 113 g)
- bittersweet or semisweet chocolate, chopped 4 oz (113 g)
- granulated sugar 1 cup (200 g)
- large eggs 3
- pure vanilla extract 2 tsp
- peppermint extract 1 tsp
- unsweetened cocoa powder ¾ cup (65 g)
- all-purpose flour ¾ cup (95 g)
- fine sea salt ¼ tsp
- heavy whipping cream ½ cup (120 ml)
- semisweet chocolate, finely chopped (for ganache) 6 oz (170 g)
- unsalted butter (for ganache) 1 tbsp (14 g)
- crushed peppermint candies or candy canes ½ cup (about 4 standard candies)
- Optional or suggested additions:
- mini chocolate chips ½ cup (85 g)
- flaky sea salt a pinch
Method
Preheat the oven to 350°F (175°C)
- Grease an 8-inch square baking pan
- Line the greased pan with parchment paper
- Place chopped butter and semi-sweet chocolate in a heatproof bowl
- Set the bowl over simmering water to melt the mixture
- Stir the butter and chocolate until smooth
- Remove the bowl from heat
- Cool the chocolate mixture for 5 minutes
- Whisk granulated sugar into the chocolate mixture
- Add the first egg to the bowl
- Whisk until the egg is fully incorporated
- Add the second egg to the bowl
- Whisk until the egg is fully incorporated
- Stir in peppermint extract
- Sift flour, cocoa powder, and salt together
- Fold the dry ingredients into the wet mixture
- Spread the batter evenly in the prepared pan
- Bake the brownies for 25–30 minutes
- Place the pan on a wire rack to cool completely
- Pour heavy cream into a small saucepan
- Heat the cream until it just begins to simmer
- Put chopped dark chocolate in a heatproof bowl
- Pour the hot cream over the chocolate
- Let the mixture sit for 2 minutes
- Stir until the ganache is smooth and glossy
- Cool the ganache for 5 minutes
- Spread the ganache over the cooled brownies
- Sprinkle crushed peppermint candies on top
- Refrigerate the pan until the ganache is set
- Lift the brownies from the pan using the parchment overhang
- Cut the brownies into squares
- Serve the peppermint chocolate fudge brownies at room temperature
Nutrition (whole recipe)
Calories
4510 kcal Protein
60 g Fat
253 g Carbs
557 g Fiber
36 g Sugar
426 g
4510 kcal Protein
60 g Fat
253 g Carbs
557 g Fiber
36 g Sugar
426 g
Notes
Let the brownie layer cool just until it stops steaming—about 15 minutes—before spreading on the fudge; too hot and the layers bleed, too cold and they won’t fuse. For extra depth, whisk ½ teaspoon instant espresso powder into the ganache; it sharpens the chocolate flavor without adding noticeable coffee notes.